Loco Translate plugin lets you edit WordPress translation files right in your browser and connects to automatic translation services. This tutorial explains how to translate a theme into your language using Loco Translate.
Step 1:
Install and activate the "Loco Translate" plugin.
Step 2:
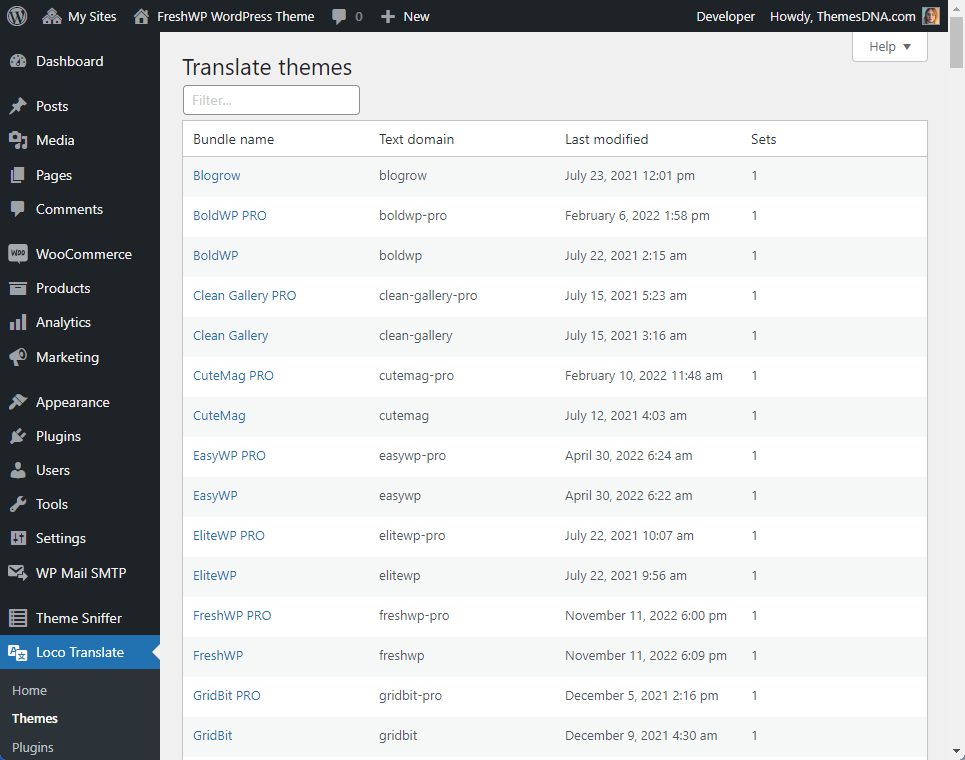
Navigate to the "Loco translate" > "Themes" section. Here we can see a list of themes that are installed on your website. Within this list, you will see the name of the theme you want to translate. Once identified, click on it to proceed to the next screen.
Step 3:
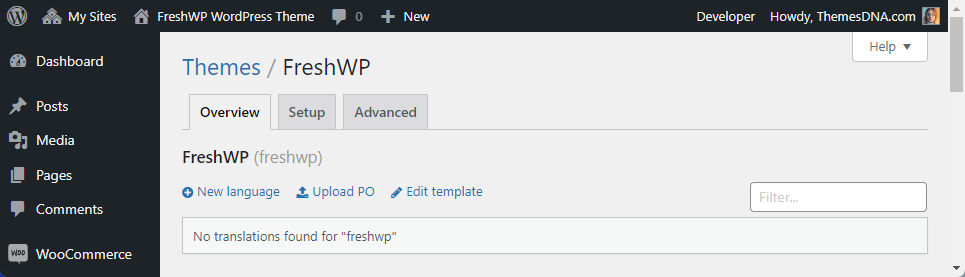
There are no existing language translations in the theme. Because of this, you need to click on the "New Language" link.
Step 4:
Select a language from the drop-down list on the next screen, as well as the location to save your translations.
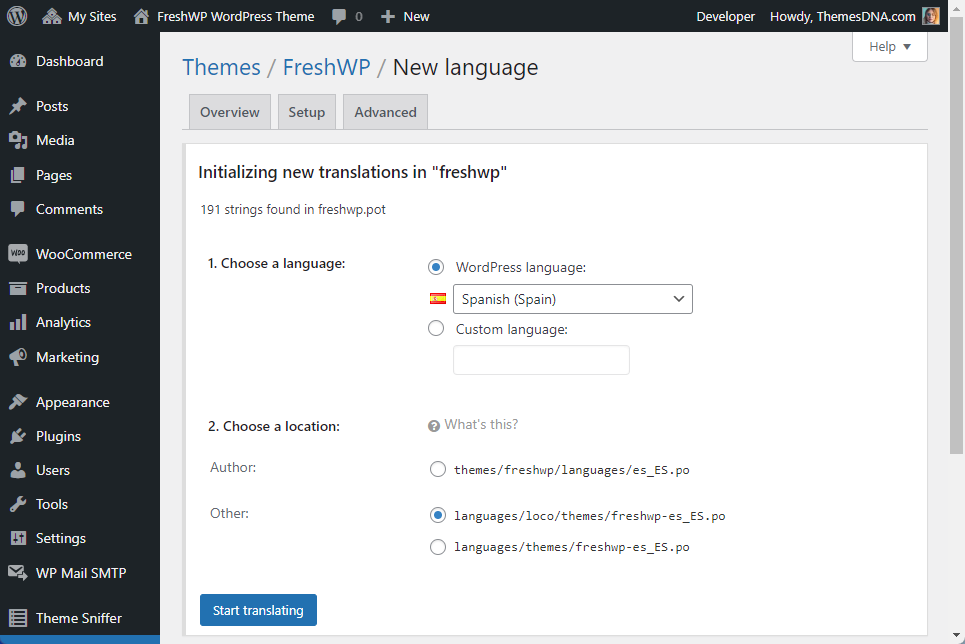
Once you are done specifying your language and file location, click on the "Start translating" button to begin translating the theme strings.
Step 5:
Now you will see the translating screen. There are 2 core sections on this translating screen.
- The upper "source text" section containing the English strings.
- The bottom "translation" section which is where you fill in your string translations.
Once you are done with a string Translation, ensure that you save your changes by clicking on the "Save" button.
