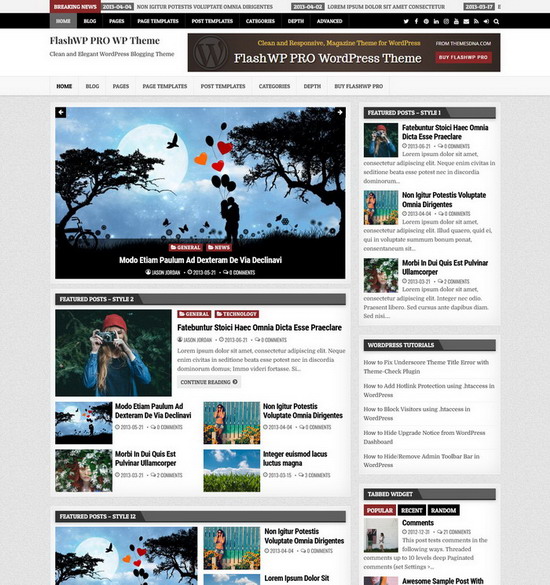
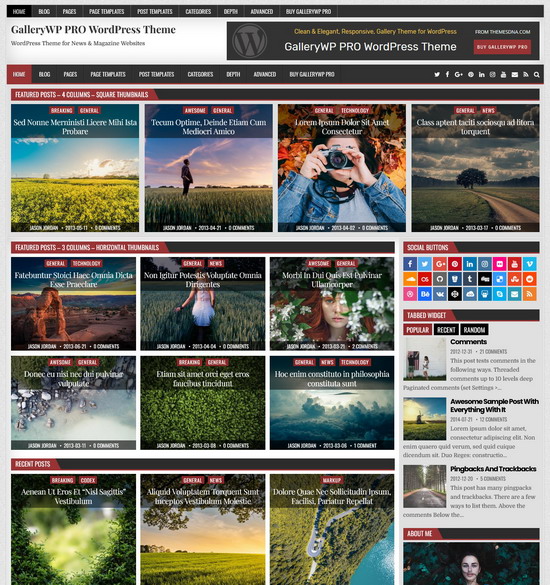
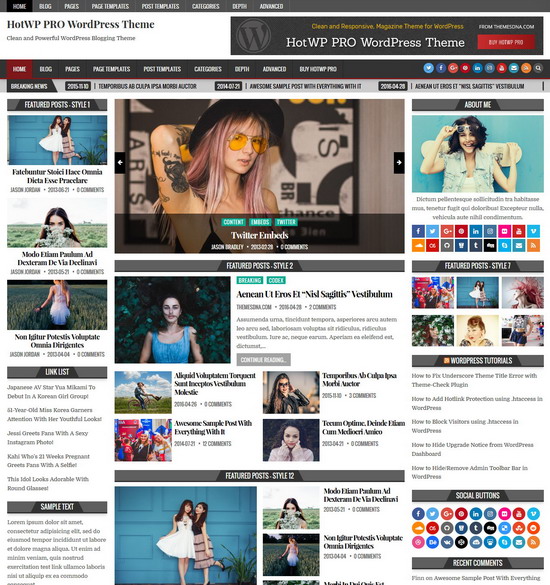
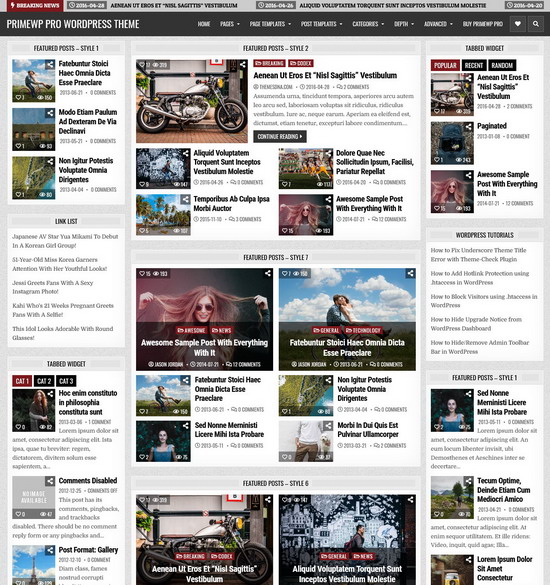
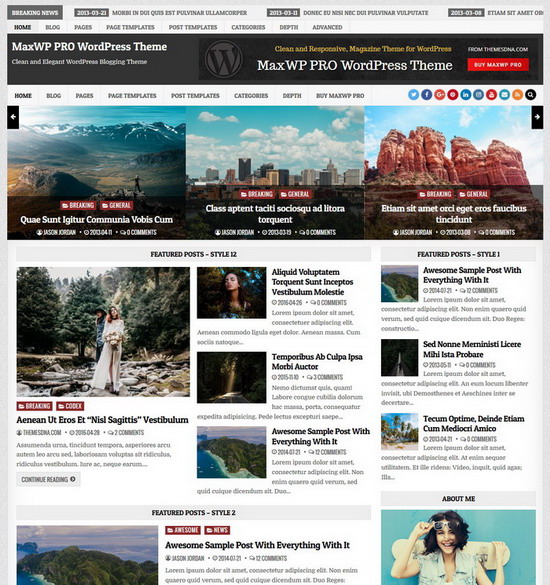
When it comes to WordPress themes, practically every theme makes use of a popular feature known as "Featured Image" or "Post Thumbnails", which allows you to attach a certain image from your WordPress media library to a specific post or page. Even though some people refer to them as featured images, others refer to them as post thumbnails, all of these terms are referring to the same thing. For those of you who are new to WordPress and are experiencing difficulty getting images to display on your blog or website, follow the steps given below to properly add featured images to your posts or pages.
Step 1:
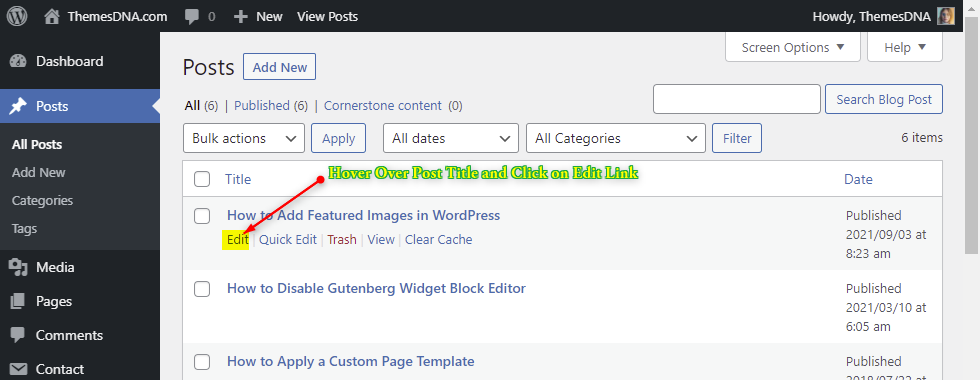
To add a featured image to a post or page, click on the edit link of the post or page you want to assign an image to.
Step 2:
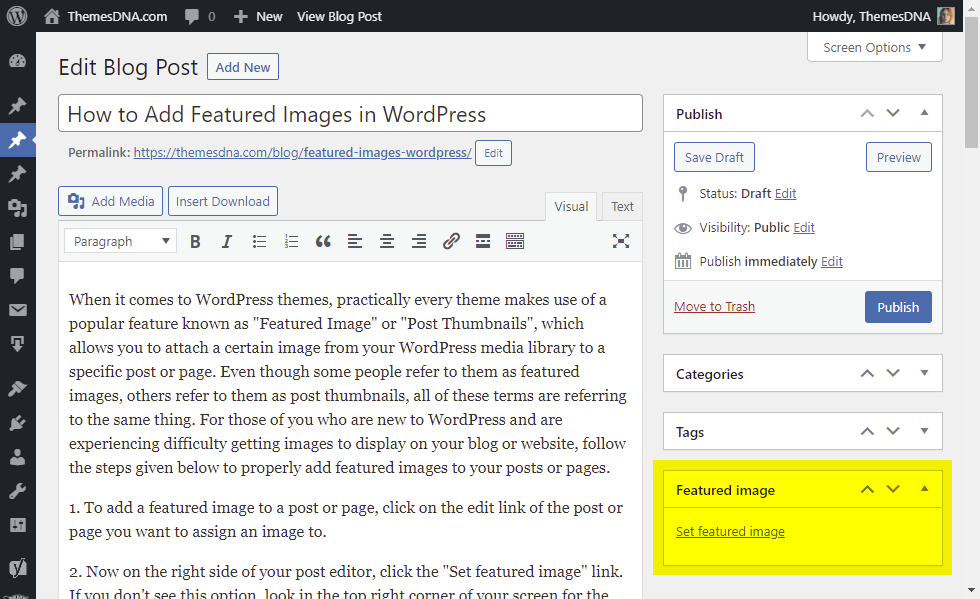
Now on the right side of your post editor, click the "Set featured image" link. If you don't see this option, look in the top right corner of your screen for the "Screen Options" tab. If you still don't see the option, it's possible that the theme you're using doesn't support the Featured Image/Post Thumbnail feature.
Step 3:
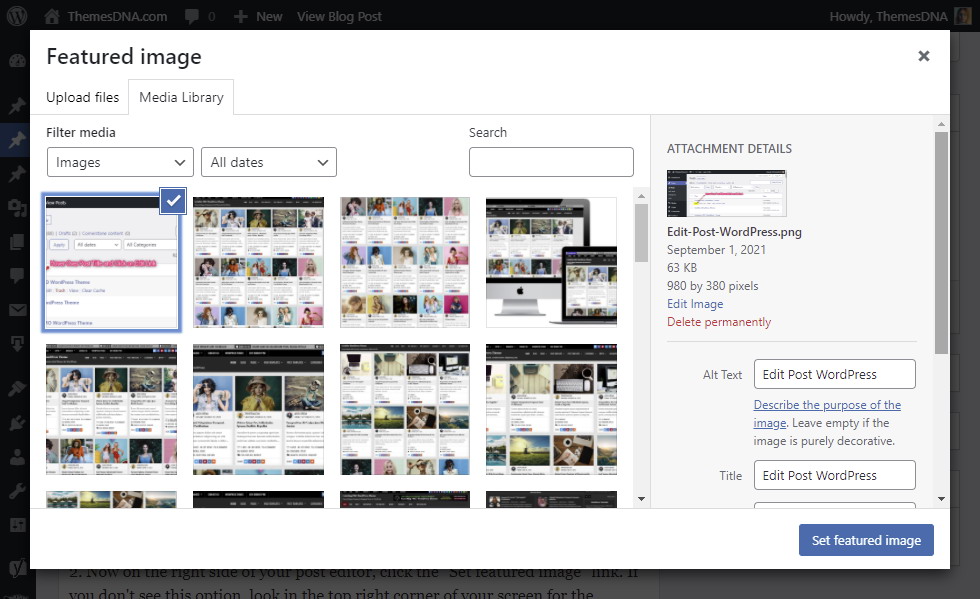
A popup will show after clicking the "Set featured image" link, displaying all of the photos currently uploaded into your website via WordPress. You can either click on the image you wish to use or drag & drop any image from your computer into the window, which will then be uploaded to your site and available for selection. After you've chosen your image, simply click on the "Set featured image" button in the popup window, and it will be allocated to the post or page you're currently editing.
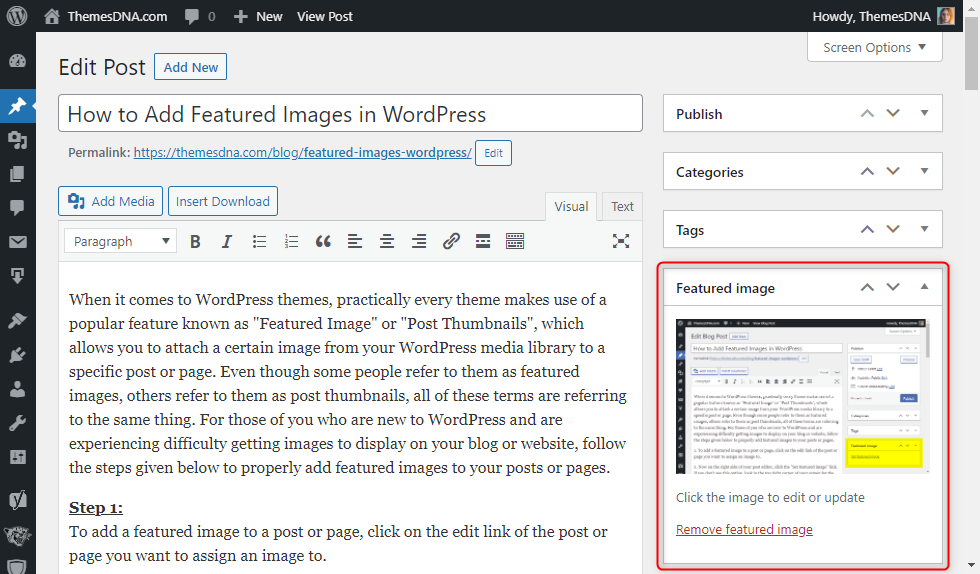
The image that has been assigned will appear in the "Featured Image" section of your post editor.
Step 4:
Now in your post editor, click on the "Save Draft" or "Update" or "Publish" button to save your featured image.
